jeudi 8 avril 2010

02 YZ250 Polishing and cleaning


Just a couple of pictures (before and after) a little cleaning has been performed. I removed most of the dirt that was kind of burnt in the different component. Some are rusted and will need to be changed (disk bolts for example) but not this year, after all ... it's a dirt bike :)
Below picture is showing left clamp polished with "Blue Magic". Amazing results.


Picture of the wheel and rays also polished.


Rear wheel (Before and After a bit of cleaning)


lundi 5 avril 2010

02 YZ250 - Removing Stickers/Decals

Old stickers were on the bike when I bought it. Some were in bad shape and not being a fan of stickers everywhere, I've decided to remove them all exept the original Yamaha Decals. This can be achieved very quickly without any effort.

The secret is a cheap heatgun!!

Wave the heatgun 2" over sticker for about 30-40 seconds. Use your nail to remove one corner and sticker should peel by itself. If you run into a rough time, heat the sticker a bit more and restart pulling operation. Important to say that sticker will come into one piece instead of multiples pieces when you don't use the heatgun! :)

Here in Canada, www.canadiantire.ca has a jobmate heat gun at 19.00$ CAD. Set it at "low" cause you don't need that much heat to have the sticker removed.

I'll get pictures of the bike once panels are reinstalled.

02 YZ250 - Changing front wheel bearing

After engine has been modified, I've been doing a general checkup on the bike and found out that the front wheel was wobbling left to right (1mm) but it was anoying. I've decided to remove the wheel using the following steps :

Removing the wheel
- Remove plastic brake cover (10mm bolts if I remember correctly)
- Remove the nut that holds the wheel shaft between the forks
- Loosen the nuts that retain the forks to the shaft (4 bolts, 2 on each side)

-

Remove the shaft by carefully hitting on the threaded side (I used a box that was the appropriate dimension to remove the shaft). Careful not to messup the outside and inside threads, they are both valuable.
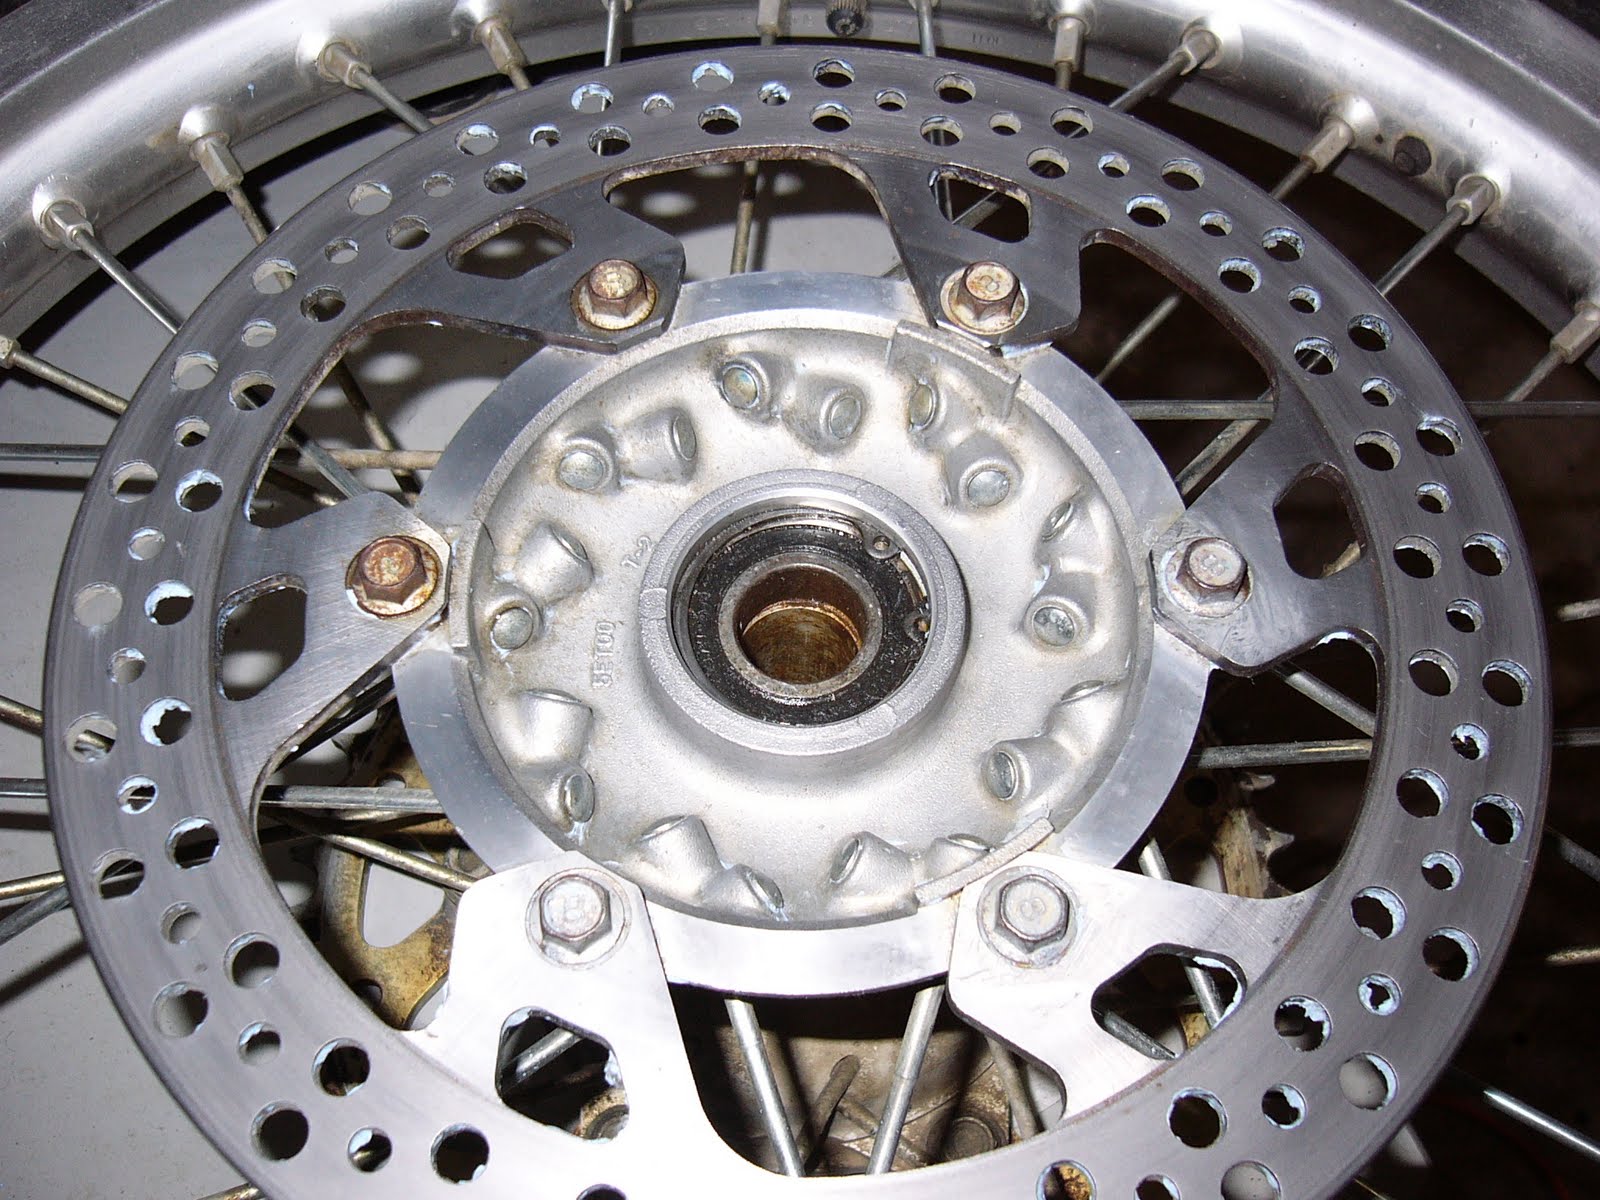
Removing collars
Remove collars and remember which one goes on what side. The one with a curved end should go on the front disk side.

Removing the oil seal
Using a screwdriver, pry the oil seal out of the wheel. To avoir prying using the wheel's rim, I've dropped a box on it's side and used it as a leverage point. It should pop out right away. You should change the oil seal but I've decided to keep it cause it didn't seem to be damaged.

Removing the bearings
I did not have access to a puller and wanted to change the bearing pretty quickly. Here are the steps :
- find a long flathead screwdriver
- Using your finger, move the bearing to remove so it's unaligned with the center spacer
- From the opposite side of the wheel, aim for the bearing with the flathead and hit with a rubber hammer to get it out.
- 6-7 good hits will get it out of there
- Repeat for remaining bearing

Installing the bearings
- At the dealer, I've decided to take the NKN version of the bearings. They were actually cheaper than OEM and they were sealed (See in the picture the difference between the old and new bearings)
- Add lithium soap grease as described in the service manual (you'll see the blue grease in the picture)
- Insert bearing in the wheel, place a 28mm box over the new bearing and tap with rubber hammer. The bearing should sit pretty easily. Make sure you don't hit on the inner race of the bearing, it will damage the bearing.


Reinstall oil seals
Push oil seals and add lithium soap grease on the lip

Reinstall collars
Pretty straightforward if you remembered where they were at removal

Reinstall the wheel shaft (it is suggested in the manual to grease the shaft). Here, it was greased using the lithium soap grease seen in blue.

mardi 23 mars 2010

02 YZ250 Kickstart assy. mod (Step 3)

Engine has been completely sealed and torqued to appropriate specifications.
Here is the picture without the Crank Lever but with all components.


See how nice the seal and shaft are fitted to (let hope) avoid any oil leaks.


02 YZ250 Kickstart assy. Mod (Step 2)

I finally received the governor bolts and I will reasemble the engine components. Hope I can finish this pretty soon so I can finally give you results. Here's what's left to do :

- Torque Clutch Basket nut
- Pry the Clutch Basket nut lock
- Insert Clutch (pressure plates and friction plates)
- Insert push rod correctly
- Insert Clutch inner cover and torque bolts to appropriate values
- Install new gasket in Clutch cover and torque to appropriate values

Have the kickstart's swivel base drilled to accept a "Roll Pin" instead of a "Spring Pin". It's been suggested by a member of the http://www.thumpertalk.com/ forum and seems to actually better fit the need for this application. Will let you know the outcome.

By the way, estimate date of completion should be close to march 27th, 2010. Stay tuned.

lundi 8 mars 2010

2002 YZ250 Removing stripped governor bolts

The 2001 oil seal fits perfectly and will be used.
The governor bolts are BackOrder. Trying to find a place to order them so I can complete this project.

I'm running into delays here because someone had already played in the old crankcase cover (bought the bike used) and the governor bolts were stripped. Because they are hard to reach, it wasn't possible for me to use a traditionnal dremel or metal saw. For those who don't really know what to do then, here's a little tip :

Buy a screw extractor set for about 10$ (here at canadiantire.ca) and read carefully the instructions. These screwdriver bits are made of hard metal and must be used "Counter-Clock wise". One end is used to clean remaining metal and resize the hole for the other end to make threads. Flip the bit and slowly unscrew to thread the existing bolt. Eventually when it grips, you'll be able to unscrew the existing stripped bolt. Hard to explain but instructions are clear enough!

Bolts should arrive pretty soon! Once they arrive, I will complete the engine mount and kickstart the engine.

lundi 22 février 2010

02 YZ250 Kickstart assy. mod (Step 1)

Great news, I have machined the parts with a friend of mine. We actually figured out a different way to complete the setup as we didn't have the equipment to perform machining of the splines. Plus, average costs are about 60$ CND or more an hour to get these splines machined. Average was a 3-4 hour job needed for the splines.

Machining was done at : http://www.usinage5axes.com/

We did it a bit differently for those who would be interrested anyways.

- Machined the interior of the kickstand lever to remove splines
- Machined the Kickstart shaft to "Pressfit" the kickstand lever
- Machined the 2002 crankcase cover to accept the new shaft dimention (not even 2mm)
- Dealer has the 2001 oil seal in stock (will check if it fits nicely)
- Final design will be a "Spring pin" that will run across both parts (kickstart lever and shaft)

* Note : Of course resplining the shaft would of been the best solution. I've decided to take another route because of budget constraints and many other factors. If anything breaks and I need to access the clutch of any other bottom end parts, the removal of the "Spring pin" shouldn't be that bad. I'll give you updates went it's completed and fully mounted on the bike.


mercredi 10 février 2010

02 YZ250 Kickstart assy. mod (R & D).

I've decided to start a little blog to help owners of 2002-up Yamaha YZ250 Dirt bikes. This was inspired by multiple ideas coming from a great ATV, Dirt Bike forum, ThumperTalk. This is the first picture of the bike I bought for a small amount of money, it will be modified and new pictures will appear during winter and as I go.


Short Story:
I bought a 2002 YZ250 dirt bike with the kickstart assembly shaft snapped inside the case, leaving a portion of the shaft remaing and huge cracks in my crankcase cover. I decided to browse the web for similar issues and found a great thread on the Thumpertalk website. Many members had the same problem and one member got me thinking while he mentionned using pre-02 parts ...

Reasearch :
I've pushed that idea a bit more and decided to give the idea a try. From the micros, I searched for parts and figured they could probably fit with minimal modifications. I ordered a 2002 Yamaha YZ250 Crankcase Cover and a 1999 Yamaha YZ250 Kickstart assembly from the popular ebay motors.


Comparing parts :

Identical specifications are (Go!)


  • Starter Gear is the same size, same # of teeth

  • White plastic is identical

  • Spring is identical

  • Lenght is identical

  • 2002 Kickstart lever bolt fits in the 1999 shaft (shown in picture)


Picture :


  • Left part is the 1999 Yamaha YZ250 starter assembly kit

  • Left part has the 2002 kickstart lever bolt to prove it fits perfectly

  • Both parts are the same lenght

Parts that will need some modification :


  • 1999 shaft is 2mm bigger. Splines will need to fit the 2002 kickstart lever

  • The hole in the casing will need ajustment (2mm bigger so 1999 shaft can fit)

  • External Rubber bushing will need to be fit (might need to buy a 1999 rubber bushing)


Next Steps :

  • Talk to my contact that has a machine shop

  • Have them do the modifications

  • Add comments and pictures to this blog